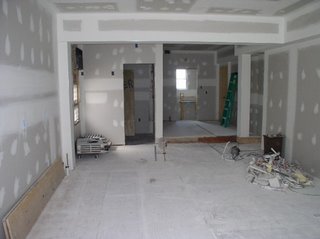
Recommended Reading:
Drywall, Professional Techniques for Great Results by Myron R. Freguson
 Equipment: Measuring and Marking
25-Ft tape measure
4-Ft T-square
24-in framing square
Chalkline
Scriber
 Cutting
Utility knife
Saw
Drywall router
 Lifting Tools
Panel lifter
T-support or Stiff arm
Drywall lift
Step-up bench or Trestles
Scaffolding
Stilts
 fastening Tools
Drywall screws
Drywall nails
Drywall screw gun
Drywall hammer
Drywall BeadsTaping ToolsTrowels
-Taping Knives
-Hawks
-Curved or Beveled Trowels
-Wide straight-handles taping knives
Joint TapePaper
Fiberglass mesh
Joint CompoundDrying-type (Pre-mixed or Powdered Forms)
Setting-type (Pre-mixed or Powdered Forms)
DrywallOdds and EndsMixers
Sanding materials
Some Useful Hints1. Use as few sheets of drywall as possible. Use the bigger sheets if you have to.
2. Create as few seams as possible. May be better to lay drywall horizontally instead of vertically
3. Place the butted seams as far away from the center of the room as possible.
4. Do not cut your drywall to short (creates to big of a crack) or to long (will damage the end of the drywall sheet if forced in place)
5. Put measurements and locations for outlets and switches on the floor under the actual outlet of switch.
6. Hang the drywall first, then cut out the areas for the electrical outlet and light switches. Following that screw the drywall firmly to the studs.
7. A simple way of estimating the square footage one needs in drywall sheets use this formula (sqft of house X 3.5) if the ceiling height is 8 feet or below. Replace the 3.5 with 3.82 if the wall height is 9 feet.
Useful Webpageswww.rona.cawww.acehardware.comwww.home.howstuffworks.comwww.homedepotmoving.comwww.hgtvpro.comwww.rd.comwww.thisoldhouse.com


